CC Skingen MasterClass: Creating a Stylized Demon with New CC3+ Base #4

Tutorial / 18 November 2020

Tutorial 4: Custom SkinGen Asset Creation with Texturing.xyz

Hello, welcome to this fourth section of this Skingen masterclass with Character Creator. In this section, we are going to perfect the last details of the skin.


We can further customize the textures of our character, including the XYZ asset scene. In this project, I will use a displacement material for Face, Hand, Elbow and a Normal Micro detail map.

 For the Micro detail map, we simply import it from the Material editor into the Micro Skin box.

Before importing Displacement maps, you need to edit them in Photoshop; In a 4k resolution document, with the reference UB and the base color, I place the parts of the map following the pattern of the face so that they remain in their corresponding places.

At the end we apply a level effect and finally a Normal map filter - remembering that this process also applies to the Arm maps, using the same procedure.

To integrate the new facial texture, we activate the Skin Appearance editor and include a Part Normal layer in the scene. Then we include a Face mask, which we can take from the CC3 HeadShot plugin, or just paint it from Photoshop. Below is the newly created Normal map. I repeat the same process for the arm texture.

As an additional point, we can save the new textures by right-clicking on the layer, and going down the Effect category. We select Normal effects, Face Levels and, finally we add it to the library in its corresponding place.

When working on future projects, we can reuse these materials on new characters and the results will be very interesting.

Now, for the texture of the relief tattoo, what we will do is include a layer of Decal; then we insert the mask we made in Substance Painter; taking into account that it shares the UV of the head, arm and body. The other maps will be the traditional ones that were previously exported; base color, Normal map and Roughness.

We do the same with the other UVs.

To save these textures in our Content library, the process is similar to the previous one. Right-click layer / Effect category / Skin details / Other decal; It is important to repeat the same process with the two remaining UVs (body and arm). In the end we add and change the name.

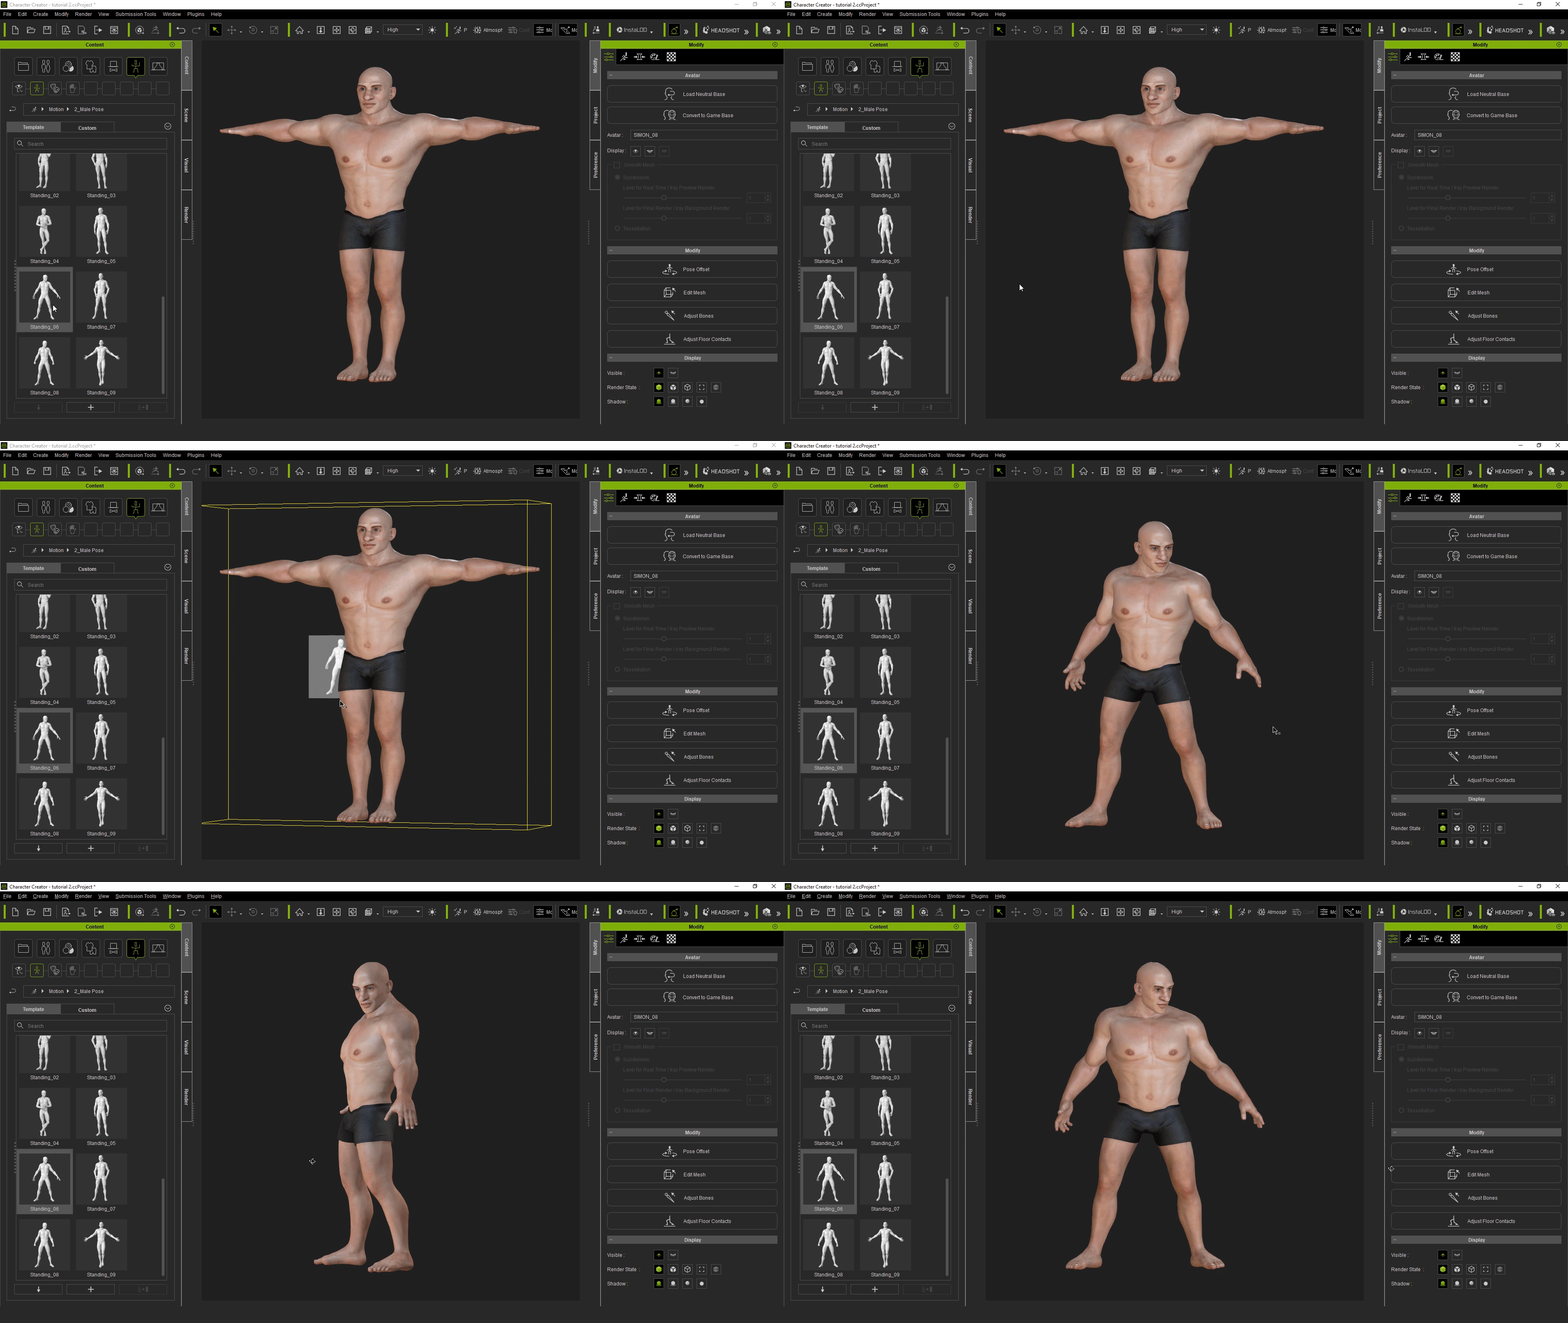
We can do the same exercise of testing the new material layer on a new model.

To finish, we insert on the face a few effects layers, some of which include Color Noise to contrast with skin tones; Lip Wrinkle to enhance the appearance of the lips; Oily to increase facial shine and a couple of scars on the upper part of the brow.

Next, we take the opportunity to include some scars on the abdomen and arms as additional elements.

With this step, we have finished this tutorial; As can be seen, these tools are compatible with different programs, which allow us to enrich the quality of our skin assets for any Character Creator projects. All we need is a little common sense and some observation.

Thanks for reading! 

Tutorial 1:  CC Skingen MasterClass: Creating a Stylized Demon with New CC3+ Base #1

Tutorial 2:  CC Skingen MasterClass: Creating a Stylized Demon with New CC3+ Base #2

Tutorial 3:  CC Skingen MasterClass: Creating a Stylized Demon with New CC3+ Base #3


ArtStation: Luis Duarte

Reallusion Content: https://cutt.ly/3u0hl6t

YouTube: https://cutt.ly/Tu0jeKf

FOLLOW US!!!!! 

Instagram  /    Facebook    /  cgartifex.com

CC Skingen MasterClass: Creating a Stylized Demon with New CC3+ Base #3

Tutorial / 18 November 2020

Tutorial 3: ZBrush 2021 Cloth workflow System for Character Creator

Create a Roman-style outfit with rudimentary pieces

Hi, I'm Luis Duarte and I welcome you to the second part of the skingen masterclass and integrate the new Zbrush options with the workflow.


The process of sculpting the outfit will be done entirely with ZBrush. For this we will take basic geometric figures such as cylinders and cubes to mold them with a Move brush and adjust to the references. Another very important tool is the Extract tool, which will help us create hard objects adjusted to the body. To easily exemplify it, the belt below is constructed with a cylinder.

And in the case of the shoulder pad, it is built with the help of the extract, the ZRemesher and the Move brush.

To add interesting details, I recommend adding imperfections to the geometry such as scratches, streaks, or dents. In my case I use brushes that can be obtained from internet libraries.

We will take advantage of the fabric simulation system in the 2021 ZBrush update, to make a few accessories that complement such as a cape and other clothes from the belt. This is done through the Dynamics menu, supported by Dynamic Subdivide.

Once the modeling is finished, I proceed to organize the low resolution geometries together with the UV; In this case, I recommend separating the pieces according to their location on the body, that is, the belt with the fabrics separated from the shoulder pad, which in turn has its own UV. I do the same for shoes and other accessories.

The next step is to manually import the accessories and clothing into our CC interface. One way to speed up work is to transfer the skins directly to the body without textures and then do the same export process to Substance Painter the same way we did with the body.

From a project creation point of view, it is not necessary to activate the UV Tile option. But always remember to add the Bake maps that are very important.

In Substance, we can have fun adding predefined materials or even create our own smart material by combining layers and adding filters or generators. In my case I am going to use somber colors so as not to make them stand out above the skin texture. In the end, when we are satisfied with the result, we export in the traditional way.

To add the textures to the model, we do it individually in their corresponding box in the CC Material editor, and finally adjust the intensity level of the color.

Thanks for following this post. Learn more tips and tricks from this series of tutorials here. 

Tutorial 1:  CC Skingen MasterClass: Creating a Stylized Demon with New CC3+ Base #1

Tutorial 2:  CC Skingen MasterClass: Creating a Stylized Demon with New CC3+ Base #2

Tutorial 4:  CC Skingen MasterClass: Creating a Stylized Demon with New CC3+ Base #4


ArtStation: Luis Duarte

Reallusion Content: https://cutt.ly/3u0hl6t

YouTube: https://cutt.ly/Tu0jeKf

FOLLOW US!!!!! 

Instagram  /    Facebook    /  cgartifex.com


CC Skingen MasterClass: Creating a Stylized Demon with New CC3+ Base #2

Tutorial / 18 November 2020

Tutorial 2: Workflow with Substance Painter, UDIM, and Full body cross for body texturing.

Base model integration from Character Creator and Substance Painter

Hello, I am Luis Duarte and I welcome you to the second part of the skingen masterclass and how to apply skin active ingredients by integrating substance painter.


With the body shape defined, I add a hairstyle and a pair of horns; Then I take it to Substance Painter using the preset link. This process can be done from two options; using the Substance button at the top-right, or from the File menu. Later, I export in the main path of my project. 

To integrate in Substance Painter, you have to select the .OBJ file, set the document resolution to 2048, then activate the ‘Use UV tile Workflow’ box and, finally add the textures located in the folder called ‘Std_Skin_Head’ (preferably only use the Normal map, Roughness, and Base color).

UDIM texturing is slightly different from the traditional way; that is, to integrate the maps and merge them with new materials, we must create a fill layer on the object in question, in this case it would be the body, then we verify in the UV Mask editor that only the one that corresponds to the head (UVs do not have a name, they are only represented by a 4-digit number) Finally we manually drag the textures to the preferences of the fill that corresponds to the same name, that is; Base color, Normal map, Roughness. I recommend doing it in separate folders.

 A very useful tip is to separate the map styles into different folders in order to be able to work more organized. 

As an additional point, we can do map baking, which can be very useful when applying new materials. I open the baking panel from the selection menu; I deactivate what I'm not going to need, keeping only the body object. Then I activate the Normal, Curvature, Thickness, Position boxes, and apply the bake. Also, remember to include the Hair and Horn bake maps.

Include a pre-defined smart material, to give the base texture of the body. Likewise, we add layers of shadows to exaggerate the expression on the character's lips, eyes, and eyebrows. The set of layers at the end would be as follows.

To include some details on the texture, we take advantage of the full-body painting; We include another material with little brightness on top, then with a hard brush we begin to draw abstract lines on the skin; in areas such as the chin, upper part of the eyebrows, chest, shoulder, and back. Then we give color and raise the height value.

Next, we make a body painting with an artistic brush, looking for a more or less blue tone, in such a way that to balance the opposite side of the body that is free. An interesting piece of information is to make a duplicate of the layers and create masks with black and white, which we will then export to use with SkinGen's Scalp.

Once we are satisfied with the texture of our model, (remember to texture the active hair and the horns so that they all go according to the style). We proceed to export the textures from the Export menu; from Global settings we leave the necessary objects active. We activate the Character Creator preset. Finally, we define a resolution of 4096 and export to the path of our project.


To integrate the new textures into the sample project in Character Creator, it is enough to select all the pieces of our character from the scene panel. Then from the File menu, we go down to Substance Painter pipeline, we press the ‘Update Textures from Substance Painter’ option, and we select the new folder created with the new materials.


Thanks for following this post. Learn more tips and tricks from this series of tutorials here. 

Tutorial 1:  CC Skingen MasterClass: Creating a Stylized Demon with New CC3+ Base #1

Tutorial 3: CC Skingen MasterClass: Creating a Stylized Demon with New CC3+ Base #3

Tutorial 4: CC Skingen MasterClass: Creating a Stylized Demon with New CC3+ Base #4

ArtStation: Luis Duarte

Reallusion Content: https://cutt.ly/3u0hl6t

YouTube: https://cutt.ly/Tu0jeKf

FOLLOW US!!!!! 

Instagram  /    Facebook    /  cgartifex.com


CC Skingen MasterClass: Creating a Stylized Demon with New CC3+ Base #1

Tutorial / 18 November 2020

Hi guys, I'm Luis Duarte, a digital artist and 3D modeler. Welcome to this Masterclass series for Character Creator’s SkinGen plugin, where I will explain tips and tricks on the new surprises that the latest Character creator 3 updates bring us with tools such as the new SkinGen texture editor, compatibility of models with system UDIM, the new improved topology and many others.

Tutorial 1: Character Creator 3 SkinGen Workflow with new CC3+ Base Advantages 

Quick character creation with Ultimate morph sliders combined with Headshot 1000 + morphs.


For the design of this character, I am going to use an updated male avatar with improved topology of CC3+.

To spawn a character, we now have more morphs options thanks to the Ultimate morph sliders, which gives us a good starting point for a varied collection of character bodies that can be fully customized for head and full body components.

With a few sliders, you can get a very good silhouette, to later use more advanced sliders for well-defined features. 

This content is fully compatible with all CC3 morphs, so I can combine my workflow with additional morph packs like the Headshot 1000+ morphs; to contour the eyes, lengthen of the nose and define other facial features.

Once the basic aspect of the model that I have in mind is defined, I must highlight a characteristic of the new CC3+ models; As you see, the topology now has a more uniform appearance, especially in areas such as the face and joints for animation.

When I am satisfied with what I am looking for; I am ready to take my model to ZBrush. In the scene panel, I select all the parts by holding the Shift key, and then I activate the GoZ option. The first impression that is noticeable is the slight changes in the pop-up panel, now we can take the model in an A pose to sculpt accessories more comfortably; we can also carry separate segments of the UV from our model. 

For example, we can take head and arms separately, a very useful feature if you want to make a specific adjustment to any part of the model without compromising the rest of the body.

In ZBrush, when activating the geometry view we can verify that the selected segments are located in different subtools.

Another great advantage of the CC3+ topology is the smoothness of the surface when subdivisions are added for high-resolution details. When compared to a traditional CC3 model version, it is easy to see that we will no longer have imperfections during the sculpting process. 

Once the sculpting process in ZBrush is finished, we can use the UDIM compatibility and export the Normal maps using the Multi-map exporter. Then we just have to manually add them in our previously saved CC3 model.

Thanks for following this post. Learn more tips and tricks from this series of tutorials here. 

Tutorial 2:  CC Skingen MasterClass: Creating a Stylized Demon with New CC3+ Base #2

Tutorial 3:  CC Skingen MasterClass: Creating a Stylized Demon with New CC3+ Base #3

Tutorial 4:  CC Skingen MasterClass: Creating a Stylized Demon with New CC3+ Base #4


ArtStation: Luis Duarte

Reallusion Content: https://cutt.ly/3u0hl6t

YouTube: https://cutt.ly/Tu0jeKf

FOLLOW US!!!!! 

Instagram  /    Facebook    /  cgartifex.com


Fast Cartoon Design #4 - Face & Body Animation in iClone - by Luis Duarte

Tutorial / 22 June 2020

Animation Test in iClone

Hello, I'm Luis Duarte and I welcome you to this last section of tutorials in which we discuss tips and tricks about creating characters using the character creator.

The final part introduces how fast it is to import this character into iClone, to check face and body animations, and generate a fast test render. 


Export avatar to iClone 

There are two methods to sending characters to iClone for animation; the first method is saving it as an avatar file from Character Creator, and loading the file in iClone.

The second method is for workflow lovers. We simply activate the ‘Send a character to the iClone’ option that is in the taskbar of the CC window.


Poses and animations  

Once in iClone, we can do countless tasks with our model. First of all, try different dynamic poses from the content panel to see in real-time how the meshes we have built will behave.


Then we can apply different motion files just by dragging them onto the scene. This phase is very fun because we see how our character comes to life after a long design process.


Generate a high-resolution render

After having played with the model, we can define a definitive pose that we like and start playing with the variables of the scene. For this phase, I recommend adjusting to slightly decrease the value of the default lights.


The next step is to generate a pair of spotlights that will illuminate the face on the right and left sides. Finally, a point light very close to the face to achieve a reflection in the eyes.


To improve scene detail, I recommend turning on Global Illumination and adjusting the setting for Ambient Occlusion. For this design, I’m going to export with a transparent background and then include an improved background in an image editor so the background color is not relevant.

Then at the time of export, I define the final resolution, the storage path and that’s it! We have a very clean image in almost no time at all.

My name is Luis Duarte, and thank you so much for following my tutorial!

Thanks for following this post. Learn more tips and tricks from this series of tutorials here.

Tutorial 1:  Fast Cartoon Design #1 - Head & Body Morph Creation in Character Creator 3 - by Luis Duarte

Tutorial 2:  Fast Cartoon Design #2 - Conformable Hair Generation - by Luis Duarte

Tutorial 3: Fast Cartoon Design #3 - Clothes Creation - by Luis Duarte


ArtStation: Luis Duarte

Reallusion Content: https://cutt.ly/3u0hl6t

YouTube: https://cutt.ly/Tu0jeKf

FOLLOW US!!!!! 

Instagram  /    Facebook    /  cgartifex.com


Fast Cartoon Design #3 - Clothes Creation - by Luis Duarte

Tutorial / 22 June 2020

Creation of Clothes

Other than the modeling process in ZBrush, this tutorial includes more tricks such as using the CC Pose Editor to do a skin-rig check and using the Skin Weight Editor to refine 3D clothes for posing and animation.


Clothing modeling in ZBrush

After trying different poses and defining the body of our character. The next step is to generate clothing assets. For this project, I am going to use the ZBrush tools to sculpt urban style clothing that I sketched in the original concept.

A basic example to build the pants and sweater is to make a duplicate of the body in T pose, then we eliminate the unnecessary polygons from above and below, later I apply a Dynamesh to start sculpting wrinkles and micro details of fabric, while I am increasing the resolution of the mesh.


For the shoes, I can start directly with a low-resolution box and go adding and moving polygons as the case may be, until completing a general sketch. Then I upload the subdivisions and I polish the final details to have a good finish.


Re-topology and organization of geometry

The next step is to use the modeling tools, in my case Autodesk Maya again, with Quad Draw, thus generating a low-resolution geometry that can be optimized to integrate very easily into Character Creator.


After organizing polygons that can be animated, I generate some UVs quickly with the editor that is already present in Maya, always taking into account that the end result would be one UV for each object. That is one for the sweater, another for the pants, and another for shoes.


Textured with Substance

For the texture, I repeat the process again with Substance Painter, adding details that highlight the fabric materials. For this, the gallery of materials that come by default is very useful. Simply adjust a few things, and change the color to have a decent result.

In the end, I repeat the process with the upper part of the shoes and adjust the values of the lower part so that it resembles a rubber or plastic material. And, it only remains to export and configure the outfit in CC.


Import content into Character Creator

To import the clothes, I again turn to my GoZ strategy. I carry the meshes from ZBrush and update them as clothes in Character Creator. This procedure allows each section to have its own individual weight without the need to apply it manually.

To apply the textures, I do it from the Material Editor, change the shading to PBR mode, and proceed to import one by one, the maps corresponding to each garment created. That is, Base color, Normal, Ambient Occlusion, Metallic, and Roughness. Always remembering that for the Normal map to work correctly you have to activate the Y-flip box.


An additional step to correctly integrate the clothes is to change the pose of the model and confirm that everything works correctly. In my case, everything is fine with the exception of the pants, which have a small error that is very easy to correct.

I select the garment and activate the Skin Weight editor, then I select the bone with a right-click to confirm which group is influenced. This we can know thanks to the colors present in the mesh, which values are intermediate. That is, the closer to red the geometry is painted, the more influence that bone will have, therefore, its value will be 0.9. If it is closer to blue, then the less influence it will have and its value will be 0.1.

The range of colors is completed with white which value is 1 and black being the lowest with the value of 0. For this case, since it is only one vertex that is giving the problem, I do it from the selection mode. Later I select the vertex and assign it a weight value close to 1, such as 0.7 or 0.9. Finally, we have corrected that section very easily.


Save clothing assets and try on different characters

One of the most interesting features that Character Creator presents is once we have created clothing or accessory; we can save them in the content library and apply to any other character.

This is very interesting because it allows us to reuse the developed content with the same morph properties. And also, it’s an extra opportunity to play around with the Texture Editor and include new colors.


Thanks for following this post. Learn more tips and tricks from this series of tutorials here.

Fast Cartoon Design #4 - Face & Body Animation in iClone - by Luis Duarte

Tutorial 1: Fast Cartoon Design #1 - Head & Body Morph Creation in Character Creator 3 - by Luis Duarte

Tutorial 2:  Fast Cartoon Design #2 - Conformable Hair Generation - by Luis Duarte


ArtStation: Luis Duarte

Reallusion Content: https://cutt.ly/3u0hl6t

YouTube: https://cutt.ly/Tu0jeKf

FOLLOW US!!!!! 

Instagram  /    Facebook    /  cgartifex.com

Fast Cartoon Design #2 - Conformable Hair Generation - by Luis Duarte

Tutorial / 22 June 2020

Hair Generation

Welcome again, to this quick cartoon design continuation. This tutorial introduces how to build a conformable 3D hair for Character Creator, which includes creating the hair mesh in ZBrush, generating UV in Maya, and texture painting in Substance Painter.


ZBrush hairstyle creation

To generate a hair design that fits the proportions of the concept, I go back to my project in ZBrush, make a duplicate of the mesh body, and then with the Zmodeler I make a selection of the lateral base of the hair. Next, I use the motion brushes to shape and create what would be the bottom and back lines of the hairstyle. To create the dreadlocks, I just use a library brush in ZBrush, but first I modify a couple of shape details with the stroke/curve modifiers menu. Later, I go through all the areas, generating individual locks on the entire head, and always paying attention to what my main reference would be.


Generate UVs and textured hair

Once the hair model is built, I take it to traditional modeling software. I prefer to use Autodesk Maya because it has very simple tools to create and organize UVs. In my case, I position them together, with a proportional size to make the most of the texture space.

To apply the texture, we can export the Normal Map from ZBrush and then bring our model to Substance Painter to finish the job. In this phase, we can add trusses, a variety of shades, highlights, and thus adjust more to the rasta hairstyle.

To finish, we export the textures in a resolution of 2k or 4k as the case may be.


Hair integration in Character Creator

To integrate the hair to our character, I am going to re-import the mesh into ZBrush and from here I use the GoZ link to send it directly to our CC model and update it.

Next, I activate the skin weight transfer box and select the next template for hair. This is very useful because we can instruct the program to interpret the selected meshes according to the type of accessory needed. For example, we can separately add clothes, skirts, capes, hair, and shoes.


Finally, I go to the material editor, activate the PBR shader, and add one of all the texture maps taken from substance.

On the other hand, when creating a hair asset, just like the body, it can be saved in the content library and it can also be used with any type of character generated through Character Creator.


Thanks for following this post. Learn more tips and tricks from this series of tutorials here.

Fast Cartoon Design #3 - Clothes Creation - by Luis Duarte


Tutorial 1:  Fast Cartoon Design #1 - Head & Body Morph Creation in Character Creator 3 - by Luis Duarte

Tutorial 4:  Fast Cartoon Design #4 - Face & Body Animation in iClone - by Luis Duarte


ArtStation: Luis Duarte

Reallusion Content: https://cutt.ly/3u0hl6t

YouTube: https://cutt.ly/Tu0jeKf

FOLLOW US!!!!! 

Instagram  /    Facebook    /  cgartifex.com


Fast Cartoon Design #1 - Head & Body Morph Creation in Character Creator 3 - by Luis Duarte

Tutorial / 22 June 2020

Create a Character with Head and Body Morphs

Hello my name is Luis Duarte and I am a 3D instructor on libelstudios.com

We all know that generating a portfolio character involves a process that is not necessarily short. Working with modeling in its different applications, texturing, rigging, and rendering implies a time if what you are looking for is a clean and pleasant job.

However, specialized tools such as Character Creator make it possible to shorten development times by almost 35%. Taking advantage of its automatic rigging system, we can start from a base avatar that can be deformed countless times, which we can update with poses and facial gestures in real-time from the first creation stroke.

And best of all, it doesn't affect my original workflow; that is, I can sculpt the model in ZBrush, or even add accessories in Blender or 3ds max, thanks to its compatibility with other programs. However, if the purpose is to animate the character, then we can bring it to iClone and generate beautiful, very professional animations in just a few clicks.

In this tutorial, I will teach you the process of creating a cartoon style character using this fabulous working method


Base mesh generation with morph sliders

We start the process very quickly with the CC Base Male asset that comes with Character Creator 3. I also recommend importing the sketch or drawing and putting it on a flat mesh behind the model for reference.


The next step is to use the morph sliders panel to modify the entire mesh to proportions that fit the silhouette of the concept, for example; length of the torso, the length of the arms, the size of hands, and feet. In this way, we assign values very precisely to build overall volumes.

For specific details, we can go directly to the scene window and hover over the mesh, so that certain parts are highlighted in yellow, and then just click and drag to see in real-time how the model is deformed to our liking, allowing direct feedback.


Use GoZ and add details in ZBrush

Once we have the basic shape of our body, we can make a selection of all the objects in the scene (including eyes and teeth) and export them to ZBrush using the GoZ link that is included in Character Creator. In the pop-up window, we have various mesh separation options, such as separating the eyelashes, nails, or the inner cavities of the eye. In my case, I leave everything as default and press the GoZ button again.


Already in ZBrush, we can apply a modeling process to achieve similarity in relation to the concept. In this phase, I prefer to limit the tools I use to the Move, Move Topological, Smooth, and standard brushes, to make good use of the masks. I also recommend activating the Dynamic subdivide and going over the mesh by smoothing it out before adding subdivisions.


Lastly, I add subdivisions and increase the resolution of the mesh in order to go into more specific details by polishing the surface of the geometry for example; the defined edges of the lips, the shape of the ears, the volumes of the chest and finger or nail details.


Reimport the model into CC, check poses and expressions

Once the detailed process is finished, then we can return our model to Character Creator through the GoZ option, located in the upper-right menu (the same can be done with the all button) to carry out the remaining parts.

By reloading the popup, we can see that the mesh presents all the details applied in ZBrush.


To make sure that the rig is applied correctly, we open the Adjust Bones panel then press Auto-position. We also do the same for the face, eyes, and teeth.


Another important thing is to check the model by means of poses or body expressions. For this, we go to the pose library present in the Content menu, and drag and drop any of these poses onto the character to immediately see how the model adopts an expression that endows it with life. As an additional point, we can save our own poses in content and also edit them anywhere in the process.


Create textures in ZBrush and import them into Character Creator

To create a quick body texture, we can go to our project in ZBrush and apply a polypaint. In this case, I activate the SkinShade material, then I apply a pink base coat, and later with the standard brush, I add a bit of dark color in the areas with cavities. I also paint the eyebrows and add the tone of the lips. In this way, a skin contrast is generated between bright areas and dark areas. This process I recommend doing with 5, 6, or 7 mesh resolution subdivisions.


To export the textures, we take advantage of the UVs that our avatar already has, which in total must be 5. With command Ctrl + alt + Shift and clicking on any part of the mesh, we can leave it only visible in the scene. Then from the texture panel, we can generate a texture from the polypaint and later export it. We repeat the process with all remaining parts.

To create the normal maps, the process is very similar to the previous one, the only difference is that we must lower the resolution of the mesh to 1 and then do the procedure from the Normal map panel that is just below the texture panel.


Once the maps have been exported, we go to our Character Creator scene and from the Material Editor, we can make individual selections for each part of our model. In my case, I only substitute the base color and the normal map of each section of the body starting from the head. Then, I adjust the saturation and brightness of the roughness. Finally, I increase the saturation value in the color base to have balance in the skin tone.


The next step is to replace the Opacity texture that corresponds to the tabs, leaving them visible and flat only at the top.

In the case of the eyes, what I do is change the type of shading to PBR, to give that Toon style. Then I simply replace the original texture with a simpler one that has more striking colors. Finally, in the corneas, we lower the opacity to achieve a better effect.


Save character as a CC asset and create new morph sliders

A very interesting feature that Character creator offers us is that we can save the character as a CC asset, from the Content panel, activating the custom tab and clicking on the + button.


We can also create individual morph sliders for head and body, from the top menu by ourselves. They can be used from the same editor and simultaneously combined with others to create new characters.

Thanks for following this post. Learn more tips and tricks from this series of tutorials here.

Fast Cartoon Design #2 - Conformable Hair Generation - by Luis Duarte


Tutorial 3: Fast Cartoon Design #3 - Clothes Creation - by Luis Duarte

Tutorial 4:  Fast Cartoon Design #4 - Face & Body Animation in iClone - by Luis Duarte


ArtStation: Luis Duarte

Reallusion Content: https://cutt.ly/3u0hl6t

YouTube: https://cutt.ly/Tu0jeKf

FOLLOW US!!!!! 

Instagram  /    Facebook    /  cgartifex.com